
People
Client Overview
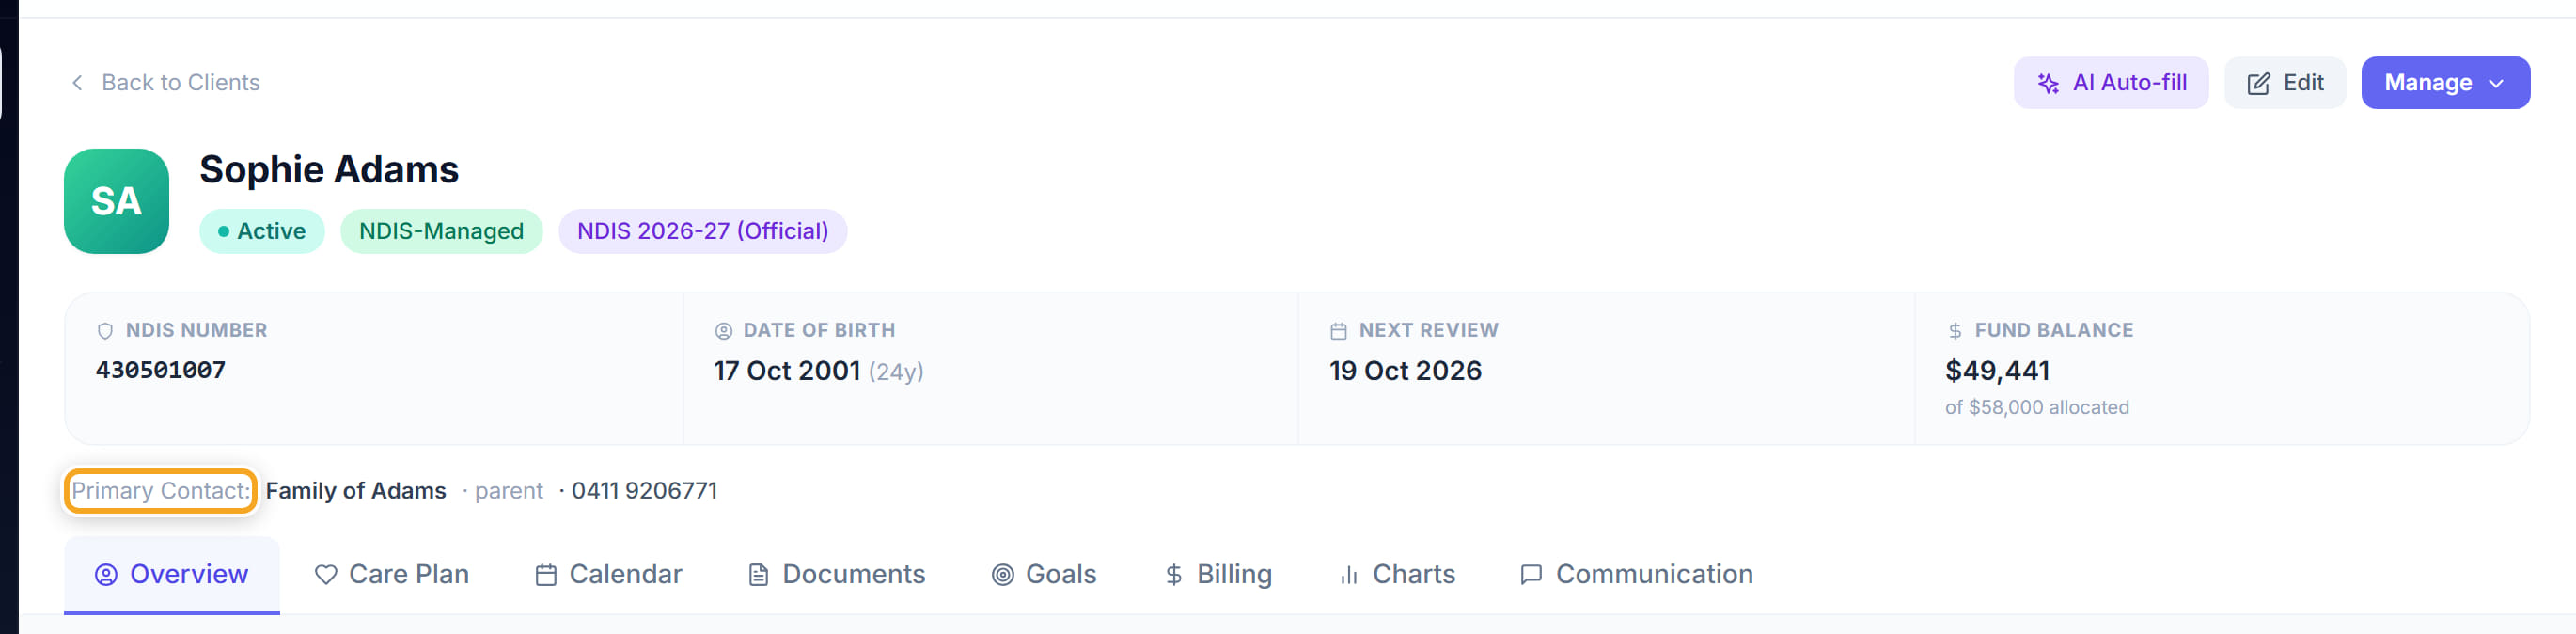
The first screen when you open a participant, and the one you will use most. A strip across the top carries the four things people ask for constantly — NDIS Number, Date of Birth, Next Review and Fund Balance — with the primary contact underneath. Below that the page is a stack of panels, each one part of the record.
Step by step
- 1
Click All Clients in the left menu and click the participant.
- 2
Read the strip at the top: NDIS Number, Date of Birth with their age, Next Review and Fund Balance. Fund Balance shows what is left of what has been allocated, so it answers "can we book more" without opening the funding plan.

- 3
Check the chips beside their name — Active tells you they are current, NDIS-Managed tells you who pays, and the third names the price book their services are charged from.
- 4
Primary Contact sits under the strip with their number, so the person to ring is on screen before you scroll.
- 5
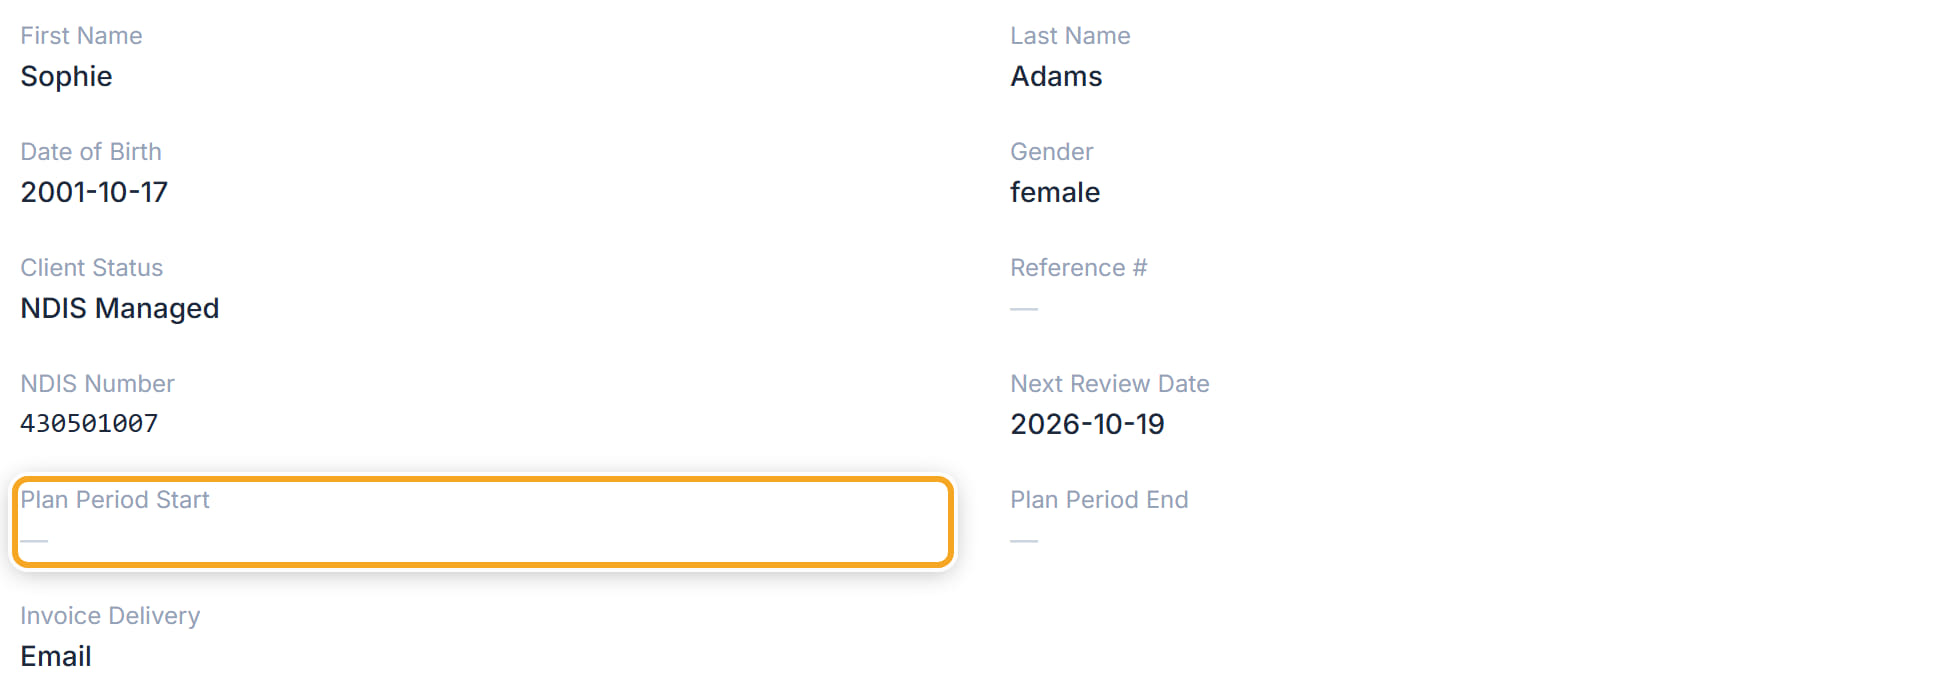
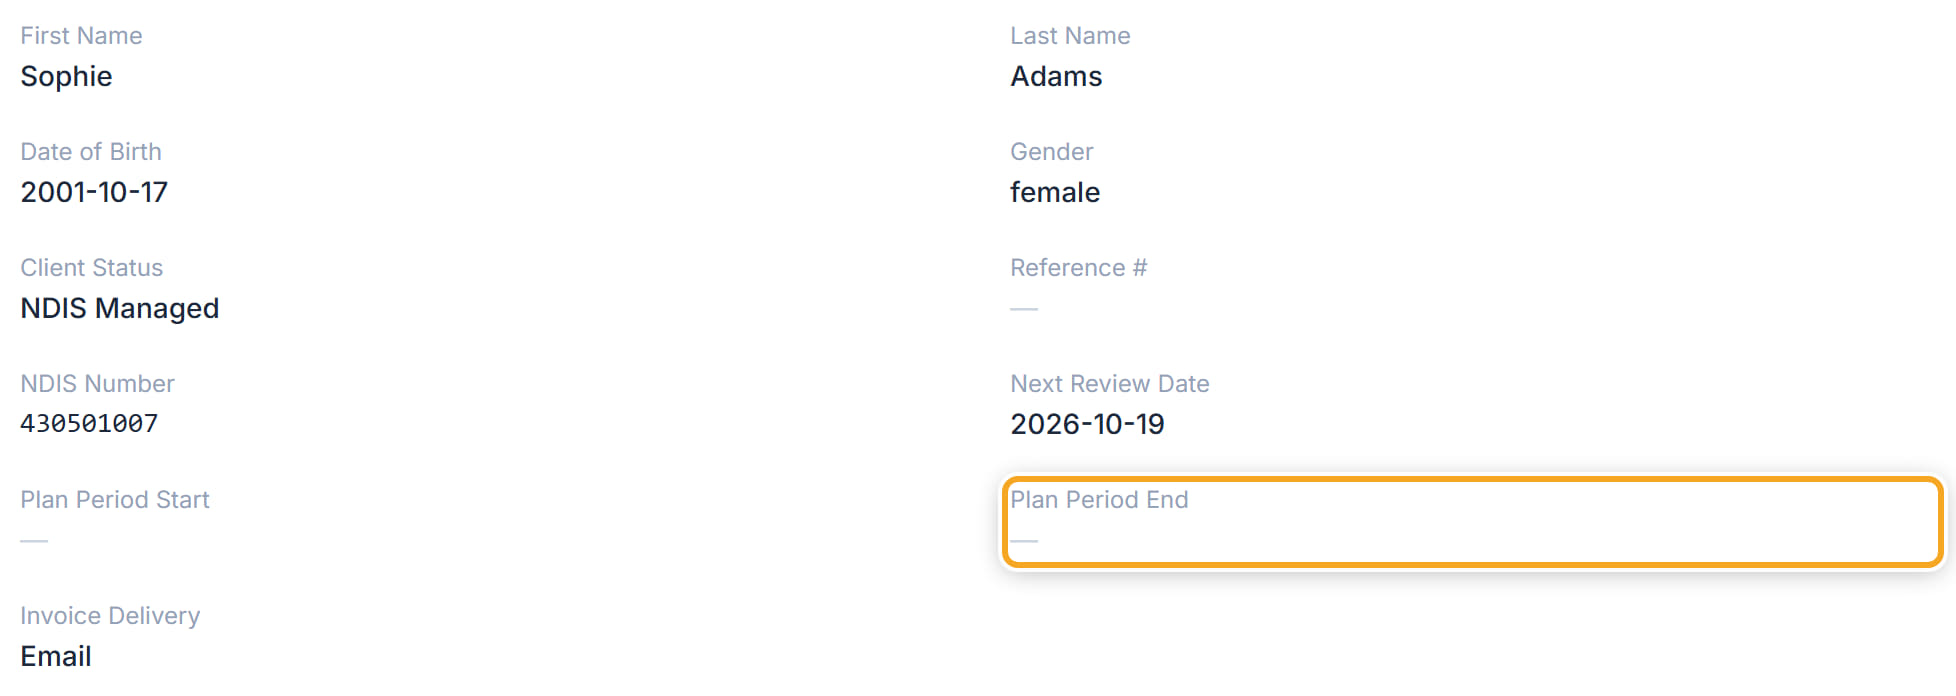
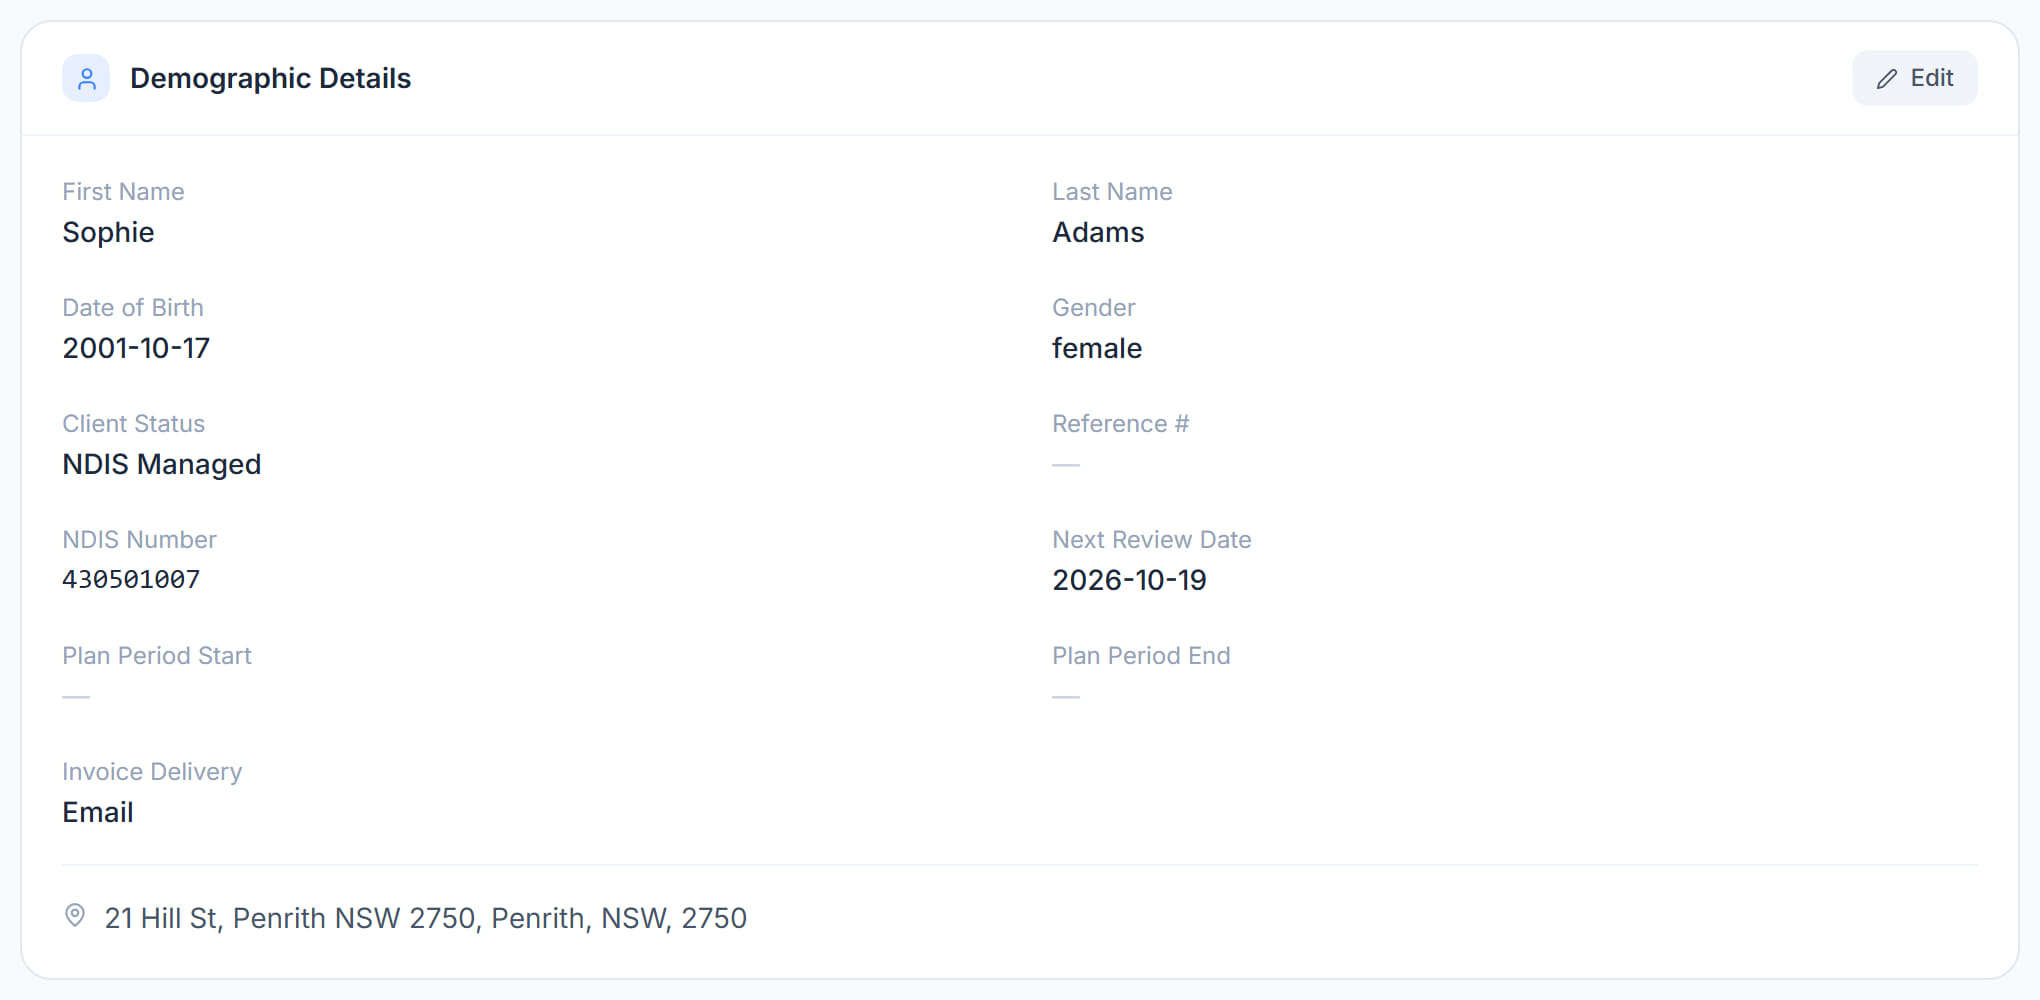
Open Demographic Details to see or change the identifying record: First Name, Last Name, Date of Birth, Gender, Client Status, Reference #, NDIS Number, Next Review Date, Plan Period Start and End, Invoice Delivery and the address.
- 6
Click Edit on that panel to change any of it.
- 7
Check Plan Period Start and Plan Period End. A service dated outside that window cannot be claimed, so this is the field that quietly breaks claiming.
- 8
Set Invoice Delivery to match how this participant is actually billed — Email, Post, Client Portal or Manual.
- 9
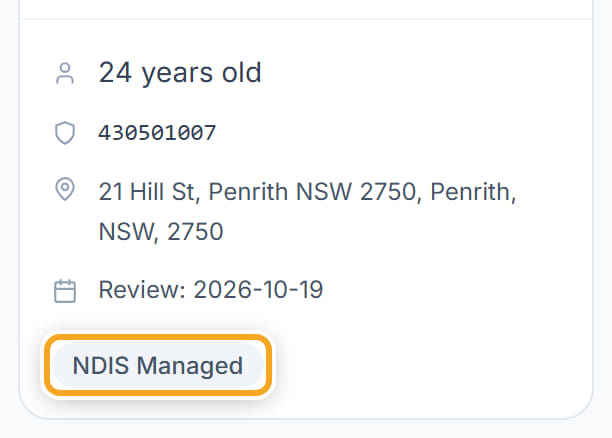
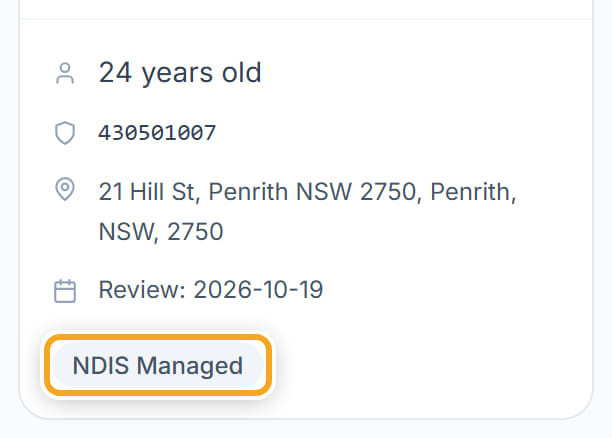
The Profile card on the right repeats the essentials — age, NDIS number, address, how the plan is managed — as a quick read without scrolling.
- 10
Price Book, underneath it, is the catalogue this participant’s services are priced from. It is normally the current official NDIS one and should be left alone unless you genuinely price differently.

The screen
Did this answer your question?
If not, talk to us — we answer from Australia, in business hours.