
How do I…?
Add a new participant
Putting a new participant into Rostery.
Do this
- 1
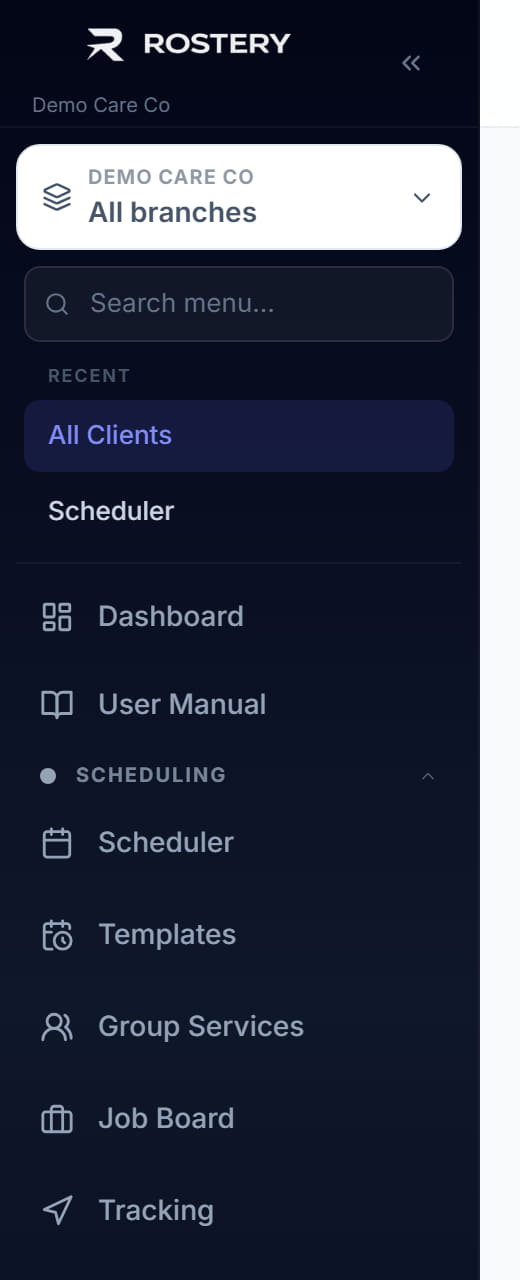
Click All Clients in the left menu.
- 2
Click New Client at the top right.
- 3
Under Basic Information, type their First Name, Last Name and Date of Birth. The three marked with a star are the only ones you cannot skip.

- 4
Fill in Gender and Sex if you hold them, and set the Joined Date to the day they started with you.

- 5
Set a Next Review Date. This is what makes Rostery remind you before a plan review is due.

- 6
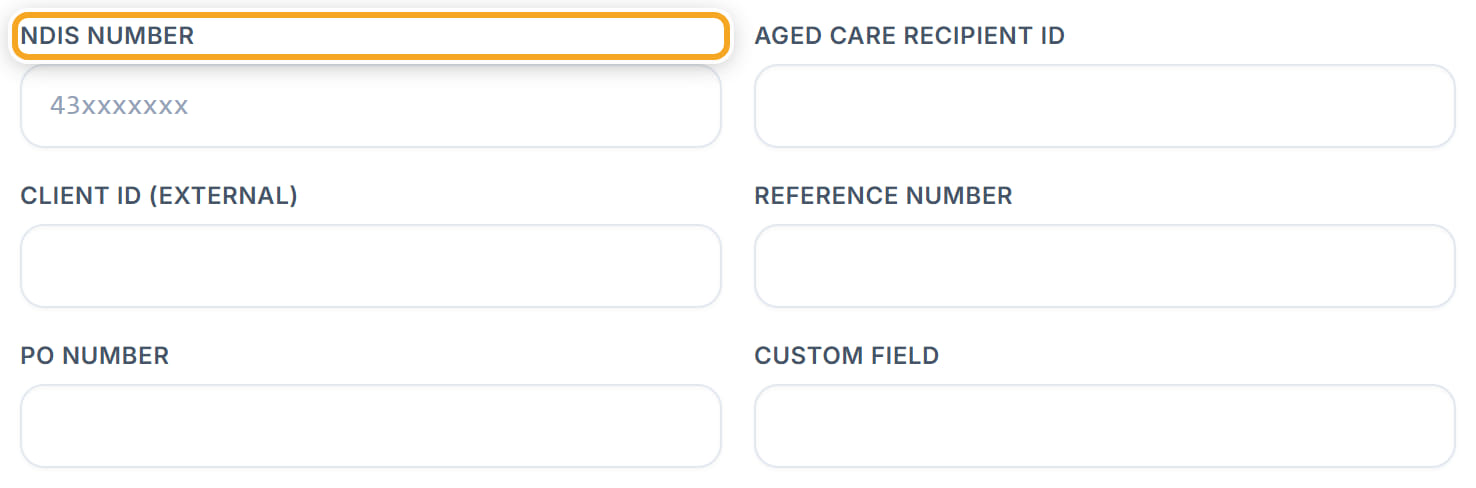
Under Identification Numbers, type the NDIS Number. Check it digit by digit — a wrong number is not rejected here, it is rejected by the NDIA weeks later when a claim fails.
- 7
Under Billing & Settings, set the NDIS Plan Period Start and NDIS Plan Period End. A service dated outside that window cannot be claimed, so an end date is not optional in practice.
- 8
Under Address, fill in the Street Address. Travel, rostering distance and the clock-in location check all read from it.

- 9
Click Save.
- 10
The participant now has a profile. Open it to set their status, add contacts, funding, goals and documents.
Did this answer your question?
If not, talk to us — we answer from Australia, in business hours.